# Notes for Embedded customers
## Custom OAuth apps
You can create a custom OAuth app in order to [White-label](https://tray.ai/documentation/platform/embedded/advanced-features/whitelabelling/custom-oauth-apps) your authentications dialog in during your integrations.
Simply follow the steps outlined below:
### 1 - Login and navigate to setup
Login to your Salesforce instance with an Admin account. Click on the Gear icon on the top right corner and navigate to `**Setup**`.

### 2 - Navigate to App Manager
Navigate to the App Manager page found under Apps on the left-hand side of the page.

### 3 - Click to create New Connected App
Click on `**New Connected App**` in the top right corner of the App Manager page.

### 4 - Add basic information
Fill out the Basic Information section with the appropriate information. The Logo Image URL field will be a URL to the image you want to appear on the login consent.

### 5 - Edit API Settings
Under the API (Enable Oauth Settings) section, click on the checkbox field to enable OAuth settings.

Set the callback URL to [`https://auth.tray.io/oauth2/token`](https://auth.tray.io/oauth2/token).
If you are [whitelabelling](https://tray.ai/documentation/platform/embedded/advanced-features/whitelabelling/introduction) the Config Wizard URL, add a secondary callback URL that will look something like [`https://\{company_name\}.integration-authentication.com/oauth2/token`](https://\{partner-name\}.integration-authentication.com/oauth2/token) where `\{company_name\}` is your branding.
Assign the appropriate API permissions that this OAuth app will be authorized to use.
> **Info:** If you are want to use our Salesforce trigger, you will want to assign the “Full access” scope. If you want Tray to be able to refresh auth tokens to perform API calls **without** requiring the user to re-sign into Salesforce, you will also want to assign the “Perform requests at any time” scope.
### 6 - Copy consumer details
Hit save and click on `Manage consumer details` button.

You will asked to very your identity with verification code to your email. Once done, you will be able to see the consumer details page.
Now copy the consumer key and secret from here. These will be required later when setting this up on the Tray app.

The following steps will be done on Tray app.
### 7 - Add Salesforce auth in Tray app
On the connector properties panel, navigate to the Auth tab and click New Authentication.

### 8 - Click Use own OAuth app
Click on `**Use own OAuth app**`

Add name and description for how this Salesforce OAuth app to be stored in Tray.

Once done, You will be able to use this app to create more Salesforce authentications if required.
### 9 - Add App Key and Secret
Your Salesforce `Consumer Key` will go in `App Key` and `Consumer Secret` will go in `App Secret`

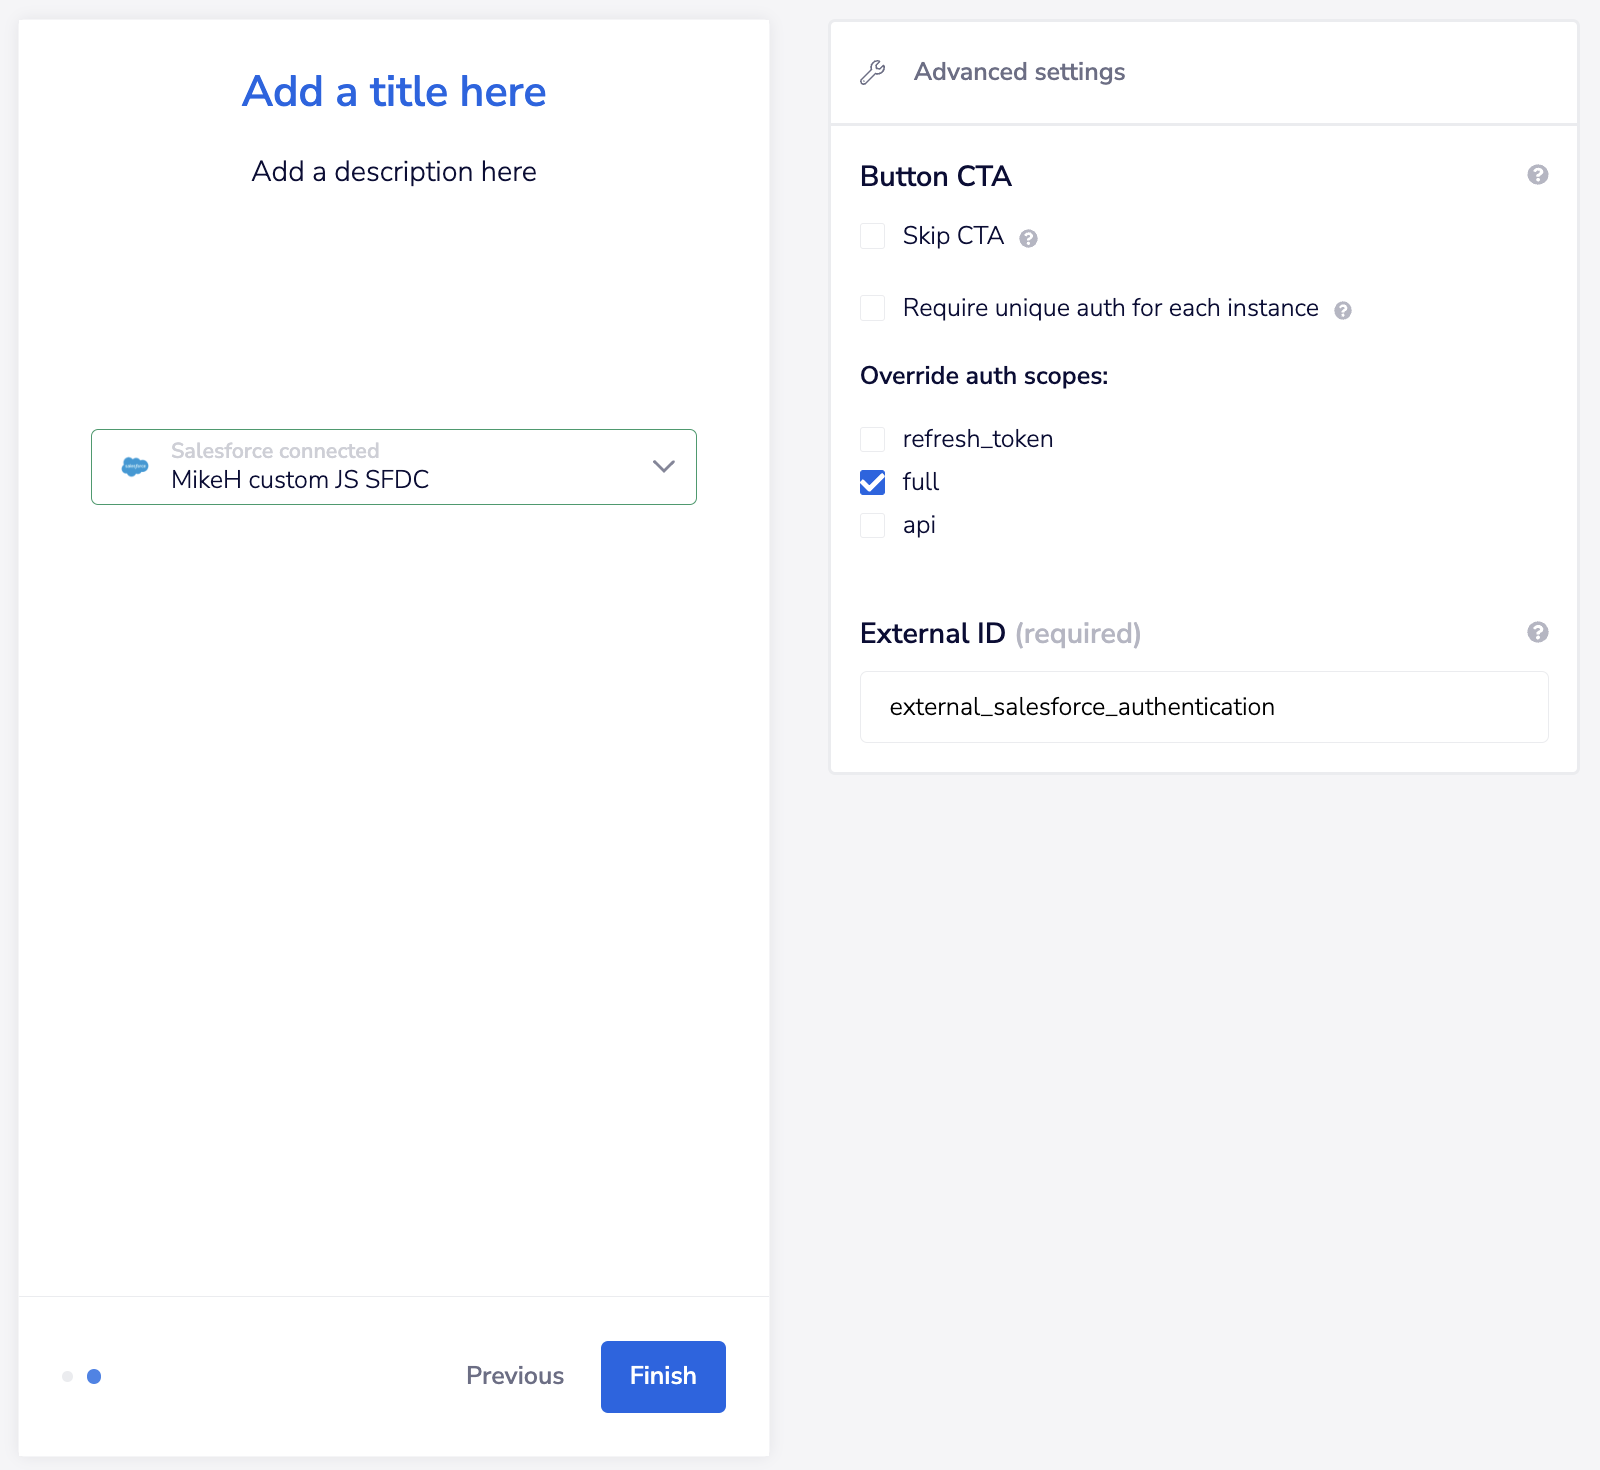
### 10 - Select Auth Scopes and create
Select the same auth scopes in Tray in this modal as you did in the previous section inside the Salesforce app.
You can also override the scopes you select here on the solution editor. Check the [Scopes](#scopes) section for details
## Scopes
Please be aware of the following points when dealing with scopes while using an Embedded account:
* **The scopes you use for your source / master workflow are the scopes that your end users will have when creating the auth**.
* You can also override scopes in the solution editor. This will allow you to specify that **only a subset of the scopes set in the master workflow are available to your End Users**. Please reach out to your Tray technical support if you wish to activate this feature.
* When creating an OAuth app in the Salesforce UI, you can set the required scopes. However, it is **NOT recommended** as you would have to create a custom OAuth app for every integration that you create for this service to enforce scope limitation.
* A better way would be to use the standard method of **setting the scopes when you are creating an authentication in your source / master workflow for each Solution**. This way you can have **multiple integrations that use the same custom OAuth app** and control them within Tray.