Caspio
How to set up and use Tray.io's Caspio connector
Authentication
Caspio uses OAuth 2.0 with client credentials (Client ID and Client Secret) along with your account Subdomain to authenticate. You generate these credentials by creating a Web Services Profile inside your Caspio account.
Prerequisites
- A Caspio account with permission to manage Access permissions
- A Tray.io account with permission to create authentications
Step 1: Create a Web Services Profile in Caspio
- Log in to your Caspio account
- Click the shield icon in the top-right navigation bar
- Select Access permissions from the dropdown
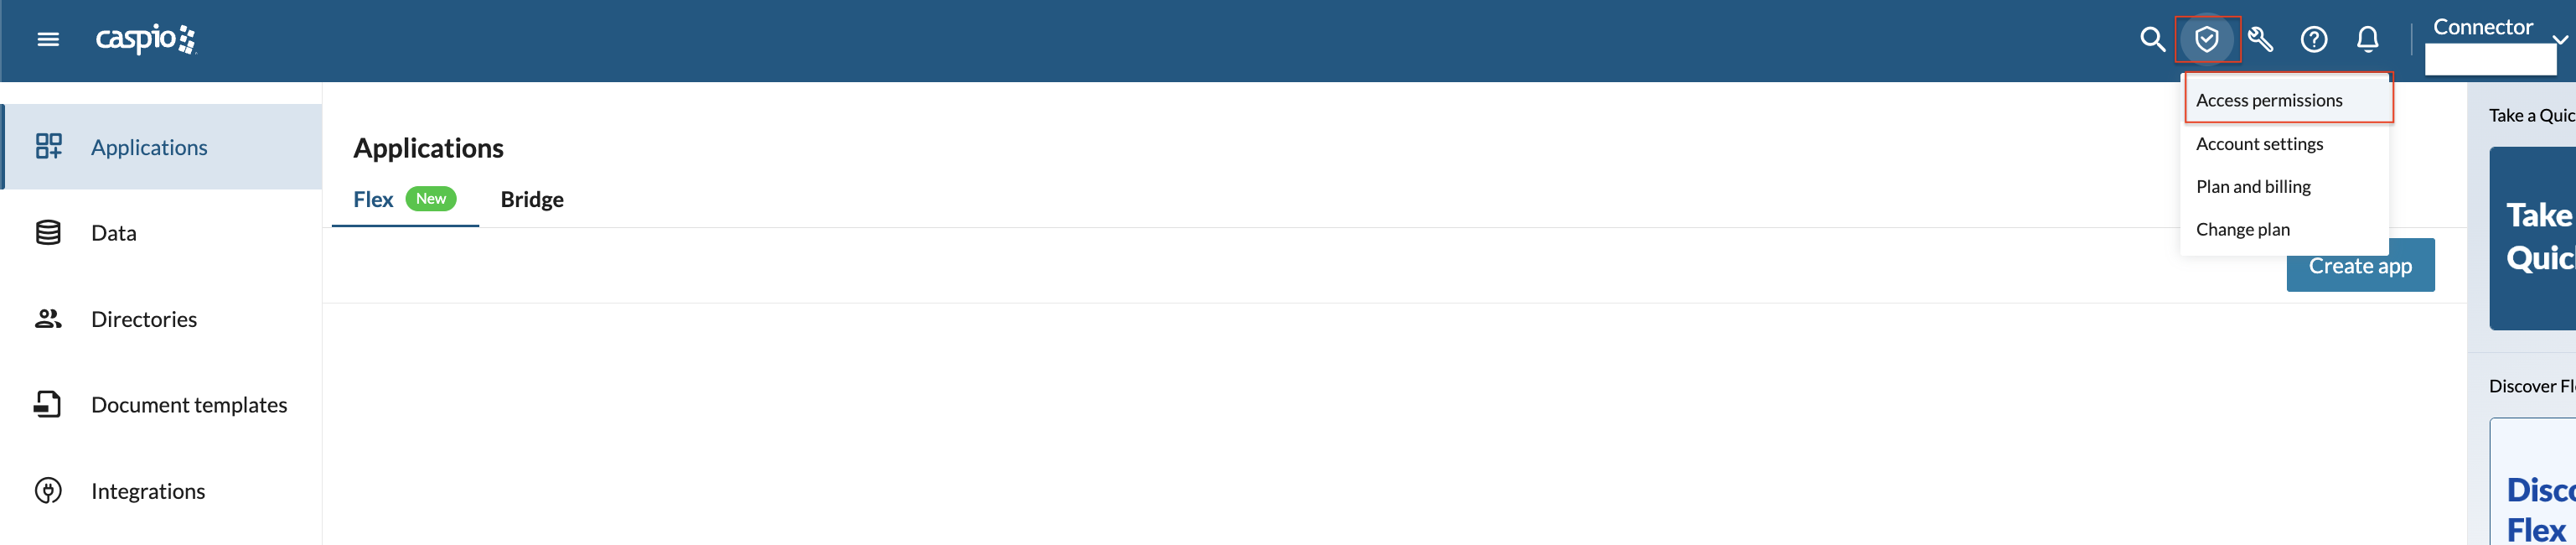
- Navigate to the Web services profiles tab
- Click Create web services profile

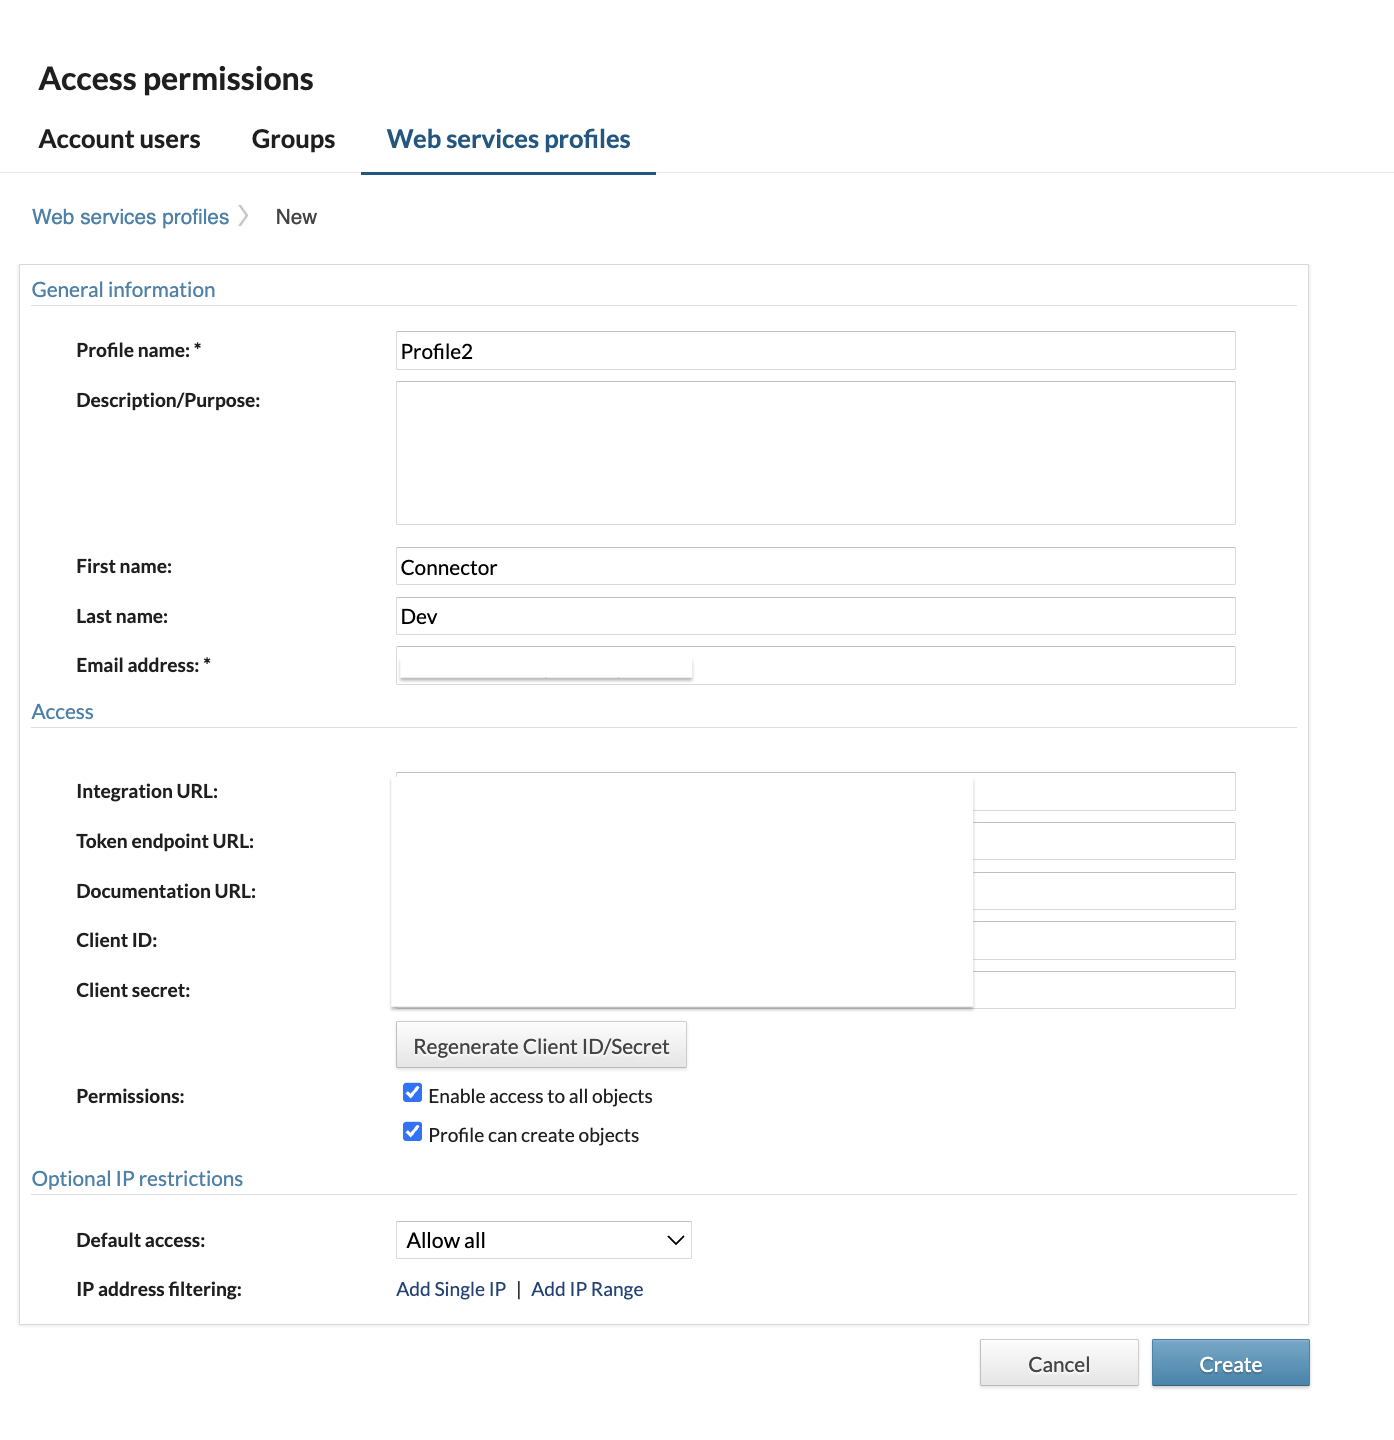
- Fill in the Profile name and Email address (required fields) — you can leave everything else as default
- Under Access, your Client ID and Client secret are automatically generated — copy both values
- Click Create
Your Subdomain is the unique part of your Caspio account URL. For example, if your Caspio URL is b3poa.caspio.com, your subdomain is b3poa.
Step 2: Add the Caspio Connector in Tray and Open Authentication
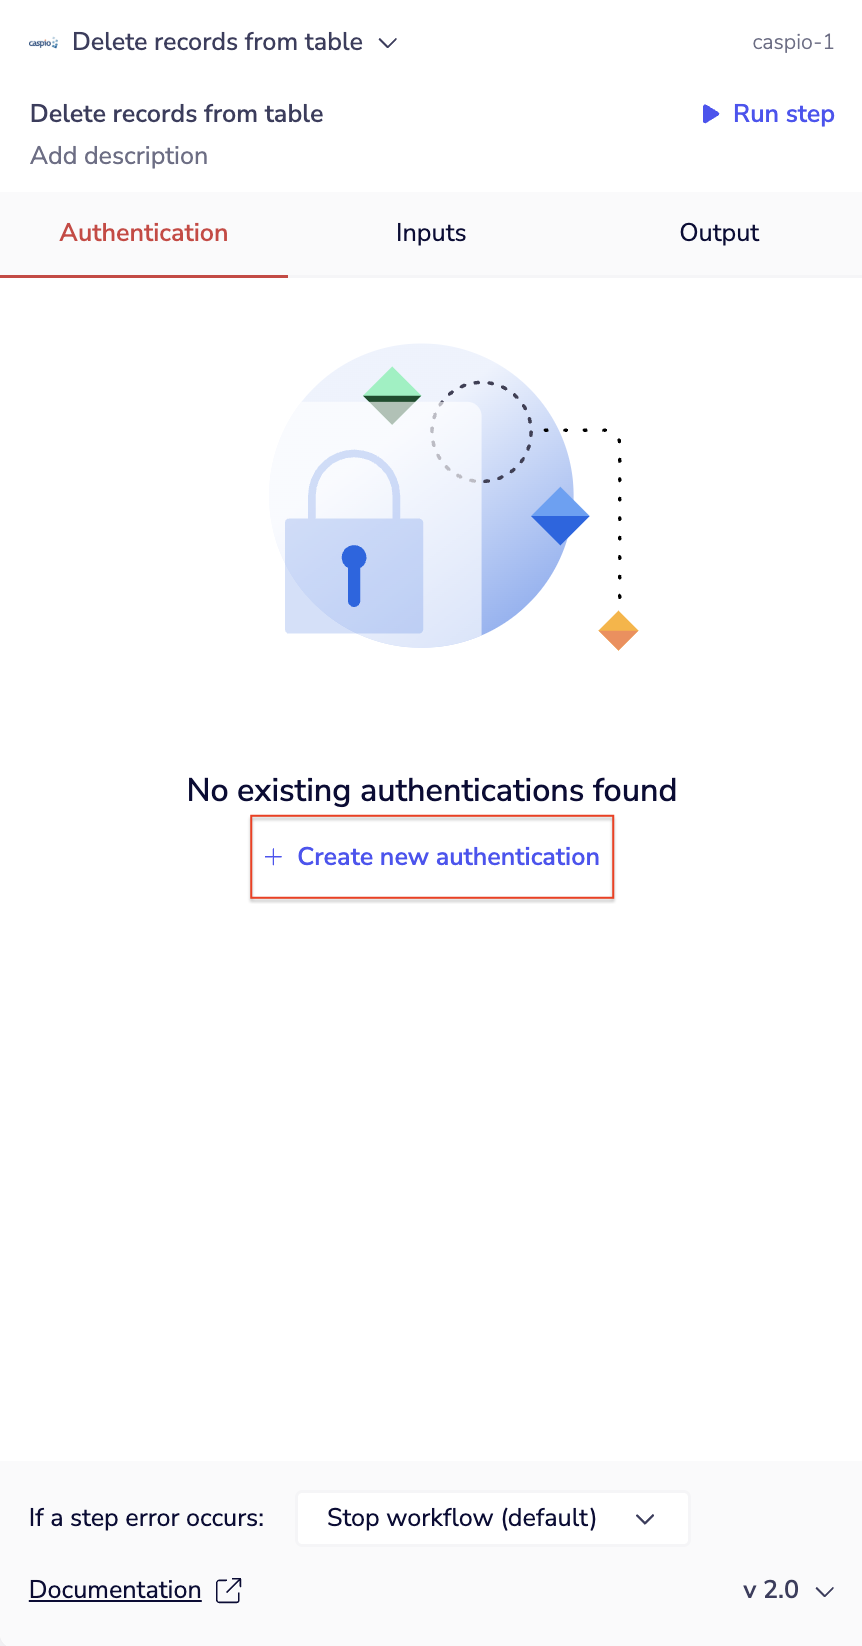
- Add the Caspio connector to your workflow
- Click on the connector step to open the properties panel
- Go to the Authentication tab
- Click Create new authentication
Step 3: Enter Your Credentials
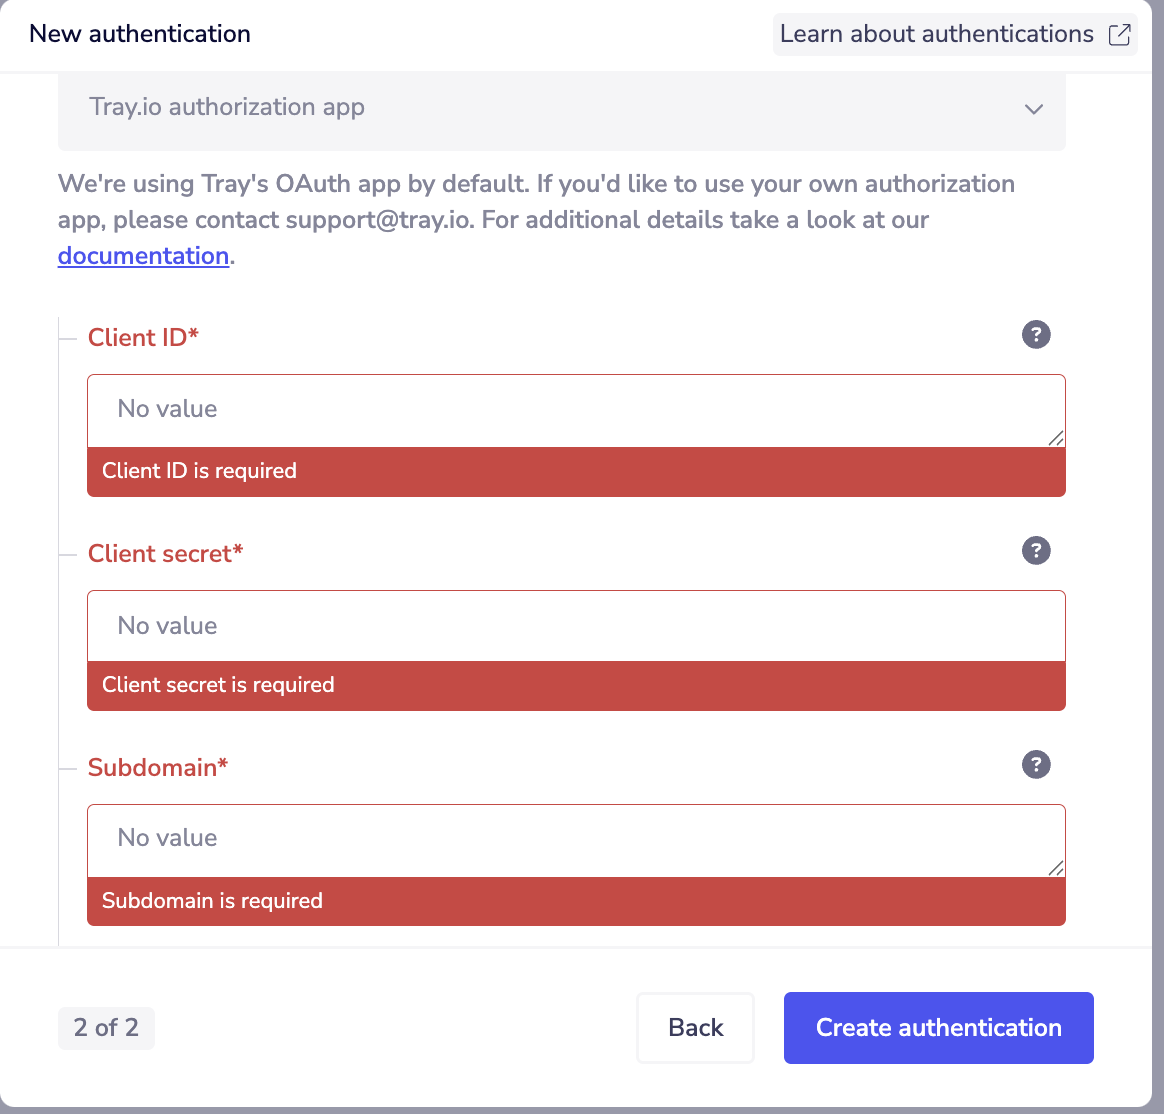
On step 2 of 2 of the new authentication modal, enter the credentials from your Caspio web services profile:
- Client ID — copied from the Access section of the profile
- Client secret — copied from the Access section of the profile
- Subdomain — the account-specific part of your Caspio URL (e.g.
b3poa)
Then click Create authentication.
Testing Your Connection
Once authenticated, run a simple operation to confirm the connection is working. If the step returns data successfully, your Caspio authentication is set up correctly.