Now that software has officially eaten the world, we are overwhelmed with interesting new sources of data from these systems just screaming to be dissected by our analyst super heroes. In order to take advantage of said data, it seems ETL and Reverse ETL are all the rage, so why not get in on the fun?
My intention with this post is to show you some hands-on fundamentals you can use when creating a pipeline using Tray. If this is a topic of interest for you, my hope is you'll walk away with practical examples and feel more comfortable as you start building your own pipelines.
Our goal will be to extract data from the hottest new SaaS unicorn in Silicon Valley: Niels.io (apparently it's all the rage amongst the radically candid, growth hackin', MVP lovin' crew 🙄). We'll setup a job to transform the data and drop it into Google Big Query on a nightly basis.
HOWEVER, whether you're a dyed in the wool Niels.io super fan DOES NOT MATTER — the concepts covered here are applicable to ANY SaaS system offering an ability to programmatically extract data.
Setting up a workflow like this from start to finish shouldn't take you more than half a day — coffee breaks included. Ready? Let's build!
Start with the end in mind
When building on Tray, the main thing to understand is where you're going. This isn't meant to be an esoteric statement like "what are we really trying to achieve here?". I mean this in very concrete terms.
To solve for an ETL use case like this, if we understand the format our data needs to be in prior to inserting it into our warehouse — we can start to think about the necessary steps needed in Tray to get it there. In this case, we need to start by understanding what the inputs of an "insert rows" operation should look like.
An aphorism I often use when explaining Tray to new users is that "JSON is the love language of Tray".
What I'm trying to highlight with this is that JSON objects are what each step of your workflow has in common. Each step has JSON inputs and outputs — and understanding how to leverage and shape the outputs from one step into the inputs of another is the trick to working your way towards a complete solution.
Tray does a lot to simplify this process, but having a fundamental understanding of the concept puts you in the best position to build what you need.
The question is, how do we do that?
By successfully conducing an insert rows operations at the outset, we can easily look at the input logs of our test execution and identify that our data transformation needs to follow this format:
This ends up being a rather simple data mapping exercise which we'll go into greater detail next.
Data Mapping - Getting from here to there
Now that we know what each object in our array of data needs to look like for BigQuery, we can start thinking about how to get there.
If you're familiar at all the Array.protoype.map() method in JavaScript, that's essentially what we're doing here. We need to create a new array of data (the BigQuery rows input) from an existing array of data (the Niels.io output).
To understand what our upstream data source looks like, we can simply make a test call to the aforementioned service and check the output logs to understand its shape.
The examples below are a simplification of what you'll likely see in a production scenario, but it's a helpful illustration of the concept. When we pull our data from Niels.io, each item we have is a simple JSON object with 2 properties:
We know from our initial test insert, that those objects look a little different:
In order to transform this data into the shape that our BigQuery input requires there's a few basic things then that need to happen:
- Map each property (or key) from the source array so that their names mach our column names in BigQuery
- Nest the object that contains the values we'll be inserting into BigQuery in a child object under the key
data - Store our newly formed object in a new array
Batching & Scaling - Get ready for production!
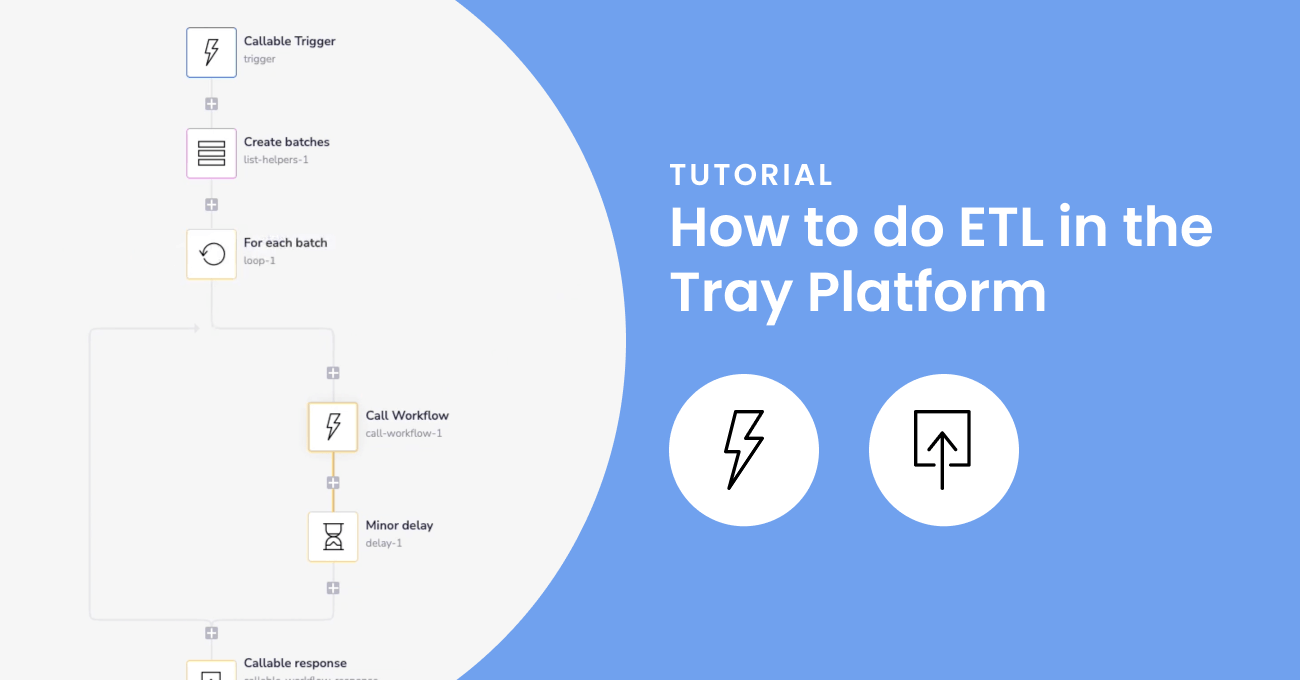
The fundamental concept we'll cover at the start is how to create batches for larger data sets. However, the more interesting topic in my opinion will be covered in the latter part of the video: how to turn your workflow into an ETL microservice, which can be reused to rapidly stand up multiple ETL use cases using the same process through the use of a Tray callable workflow.
The beauty of using a platform like Tray for ETL is the immense amount of flexibility it offers in standing up data pipelines that are purpose-built for your needs. We're just cracking the surface here. There's a LOT more you can do to iteratively extend your solutions with more advanced functionality as your needs get more sophisticated and your mastery of the platform grows. Your only limit is your imagination!
If this use case is of interest, try building your own! You can import these templates as a starting point (note it's the callable workflow I shared in the last video - find the documentation on importing workflows here).
If you're not yet a customer, watch a quick demo here.
P.S. If you decide the use the templates above, this video explains how to set them up.


