Google Ads
Google Ads is Google’s online advertising platform that helps businesses promote their products or services across Google’s ecosystem
Overview
Google Ads is an online advertising platform developed by Google, where advertisers pay to display brief advertisements, service offerings, product listings, video content, and generate mobile application installs within the Google Ads network to web users.
API INFO: The Base URL used for the google-ads connector is https://googleads.googleapis.com/v19. More information can be found on their main API documentation site.
Authentication
When using the Google Ads connector for the first time, you need to create a new authentication.
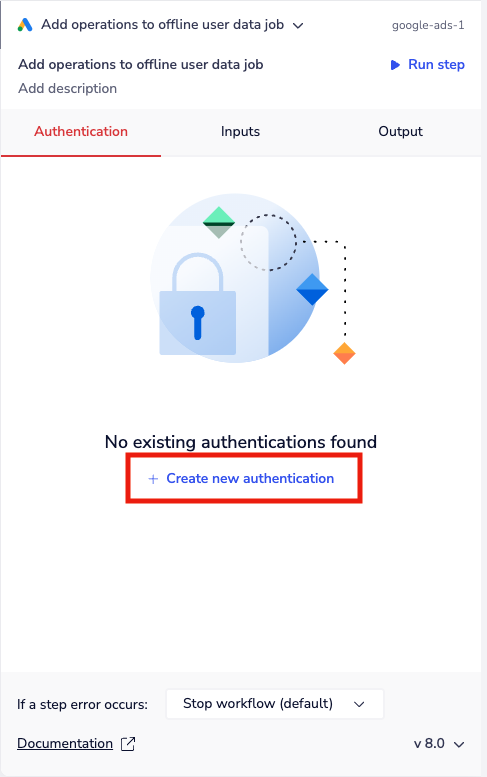 Consider who/ how many people will need access to this authentication when choosing where to create this authentication ('Personal' vs 'Organisational').
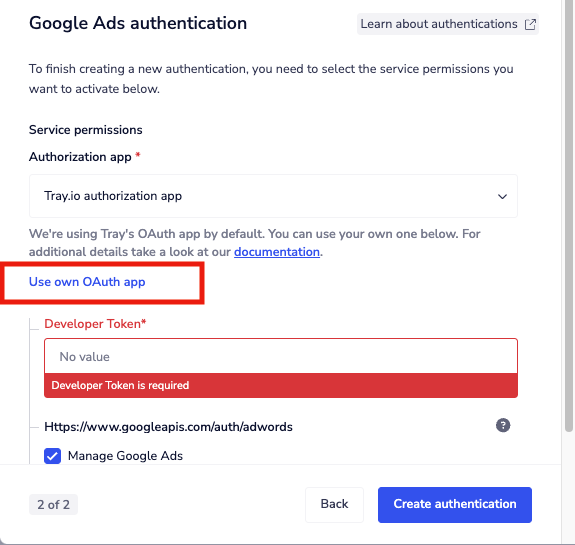
Please read the warning below carefully. To proceed, you'll need to use your own OAuth by clicking "Use own OAuth app" to set up the authentication.
Consider who/ how many people will need access to this authentication when choosing where to create this authentication ('Personal' vs 'Organisational').
Please read the warning below carefully. To proceed, you'll need to use your own OAuth by clicking "Use own OAuth app" to set up the authentication.
A Google API Console Project can only be linked to one Google Ads Developer Token. If you try to use another developer token Google will throw a DEVELOPER_TOKEN_PROHIBITED error. So if you need to use another **Google Ads Developer Token **you will need another **Google API Console Project **as well.
Check Google Ads API reference for more detailed information.
 You will be prompted to provide a name and description for the app. After that, you’ll need to enter the
 App Secret and App Key.
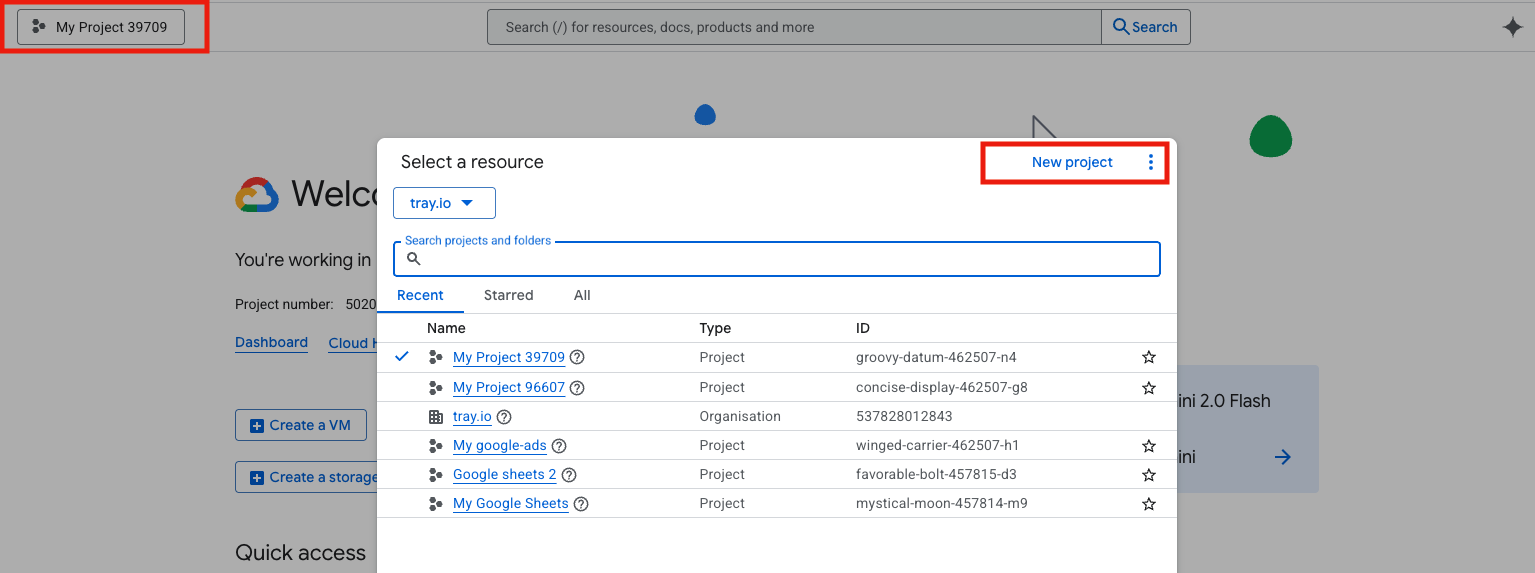
To obtain these credentials, go to Google Cloud Console and create a new project:
- Click on the project selector at the top (a box showing your current project name).
- A modal will appear — click on the "New Project" button to begin.
 Fill in the project details and click "Create".
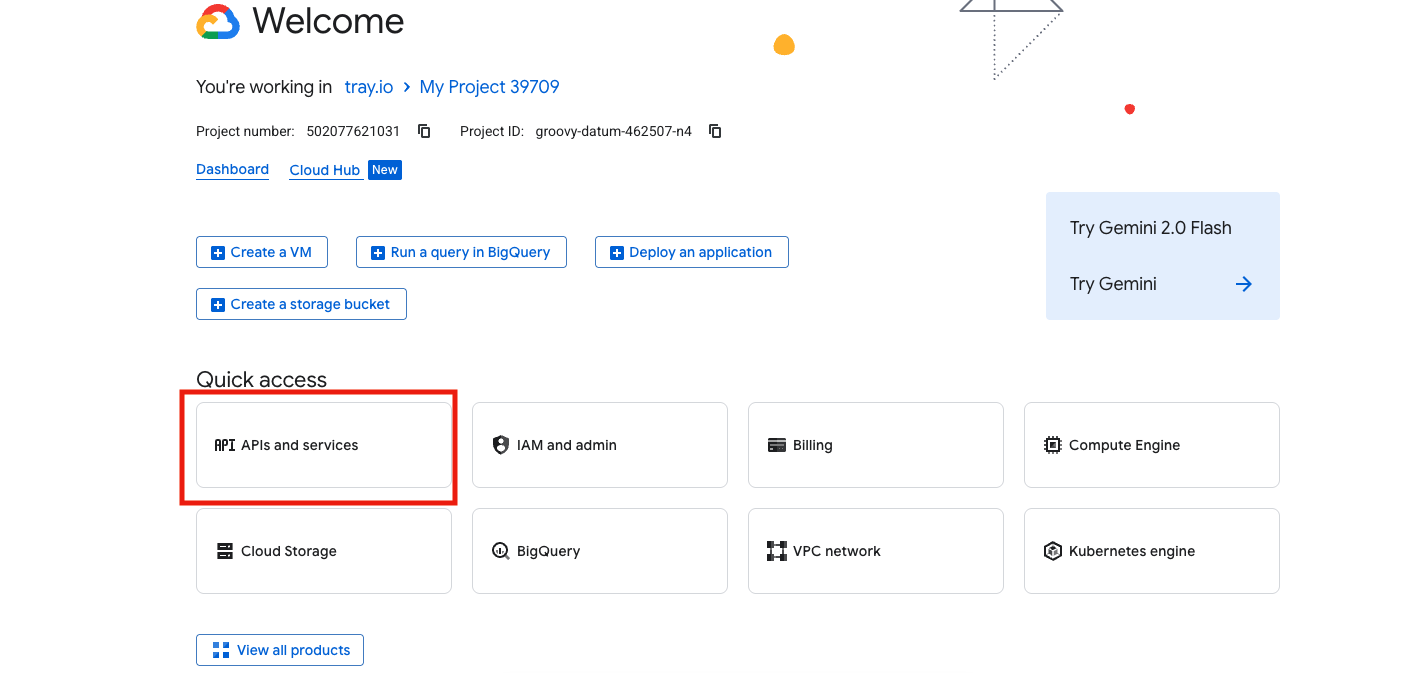
Once the project is created, make sure to select it from the project selector at the top of the page.
Next, navigate to "APIs & Services" from the menu to continue the setup process.
Fill in the project details and click "Create".
Once the project is created, make sure to select it from the project selector at the top of the page.
Next, navigate to "APIs & Services" from the menu to continue the setup process.
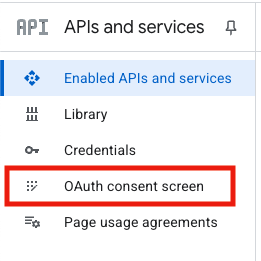
 Click on OAuth consent screen
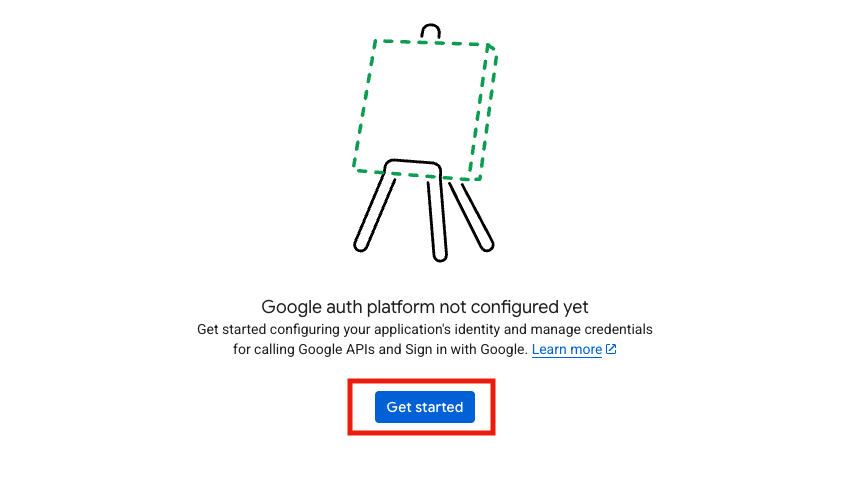
 Click "Get Started"
 Complete the required fields in the form and click "Create"
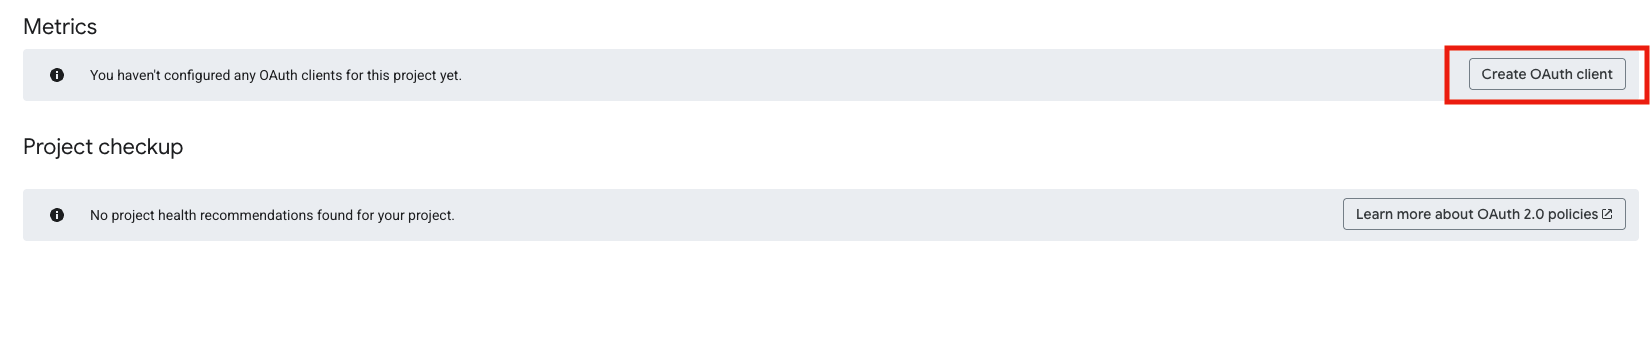
After the consent screen is set up, you’ll be redirected to a new page where you can create OAuth credentials.
Click "Create OAuth client" to proceed.
Complete the required fields in the form and click "Create"
After the consent screen is set up, you’ll be redirected to a new page where you can create OAuth credentials.
Click "Create OAuth client" to proceed.
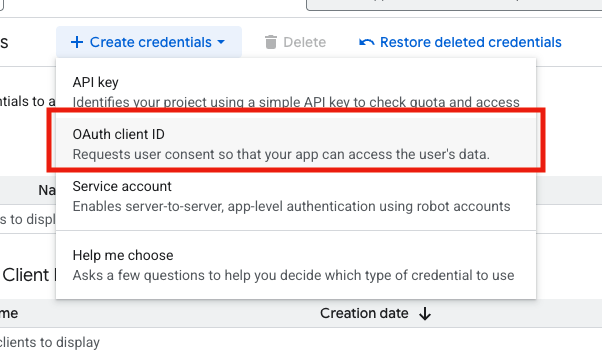
 Alternatively you can go back to APIs and services and select “Credentials” from the side menu. After that click “Create credentials” and choose OAuth client ID
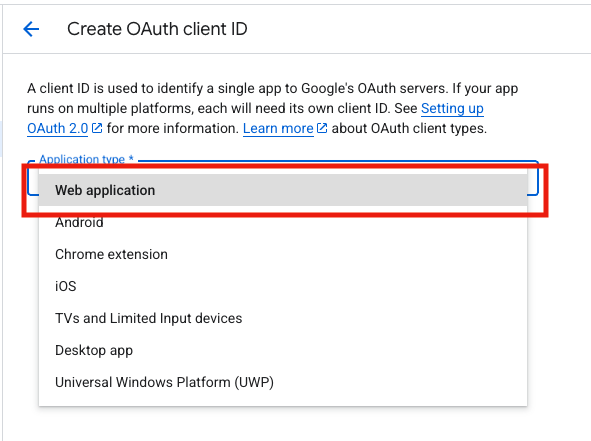
 Next select "Web application" as the application type.
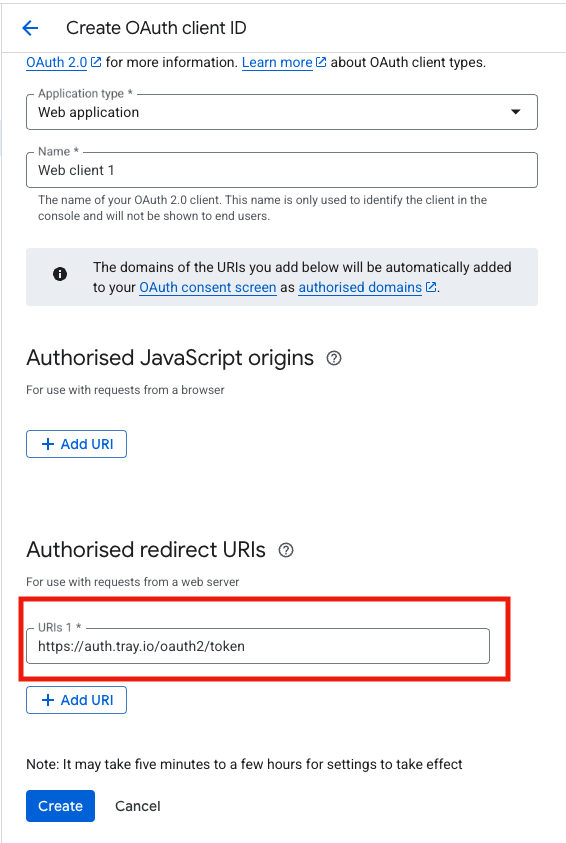
 Give it a name and click **Add URI **under the **Authorised redirect URIs **section and set it to "https://auth.tray.io/oauth2/token".
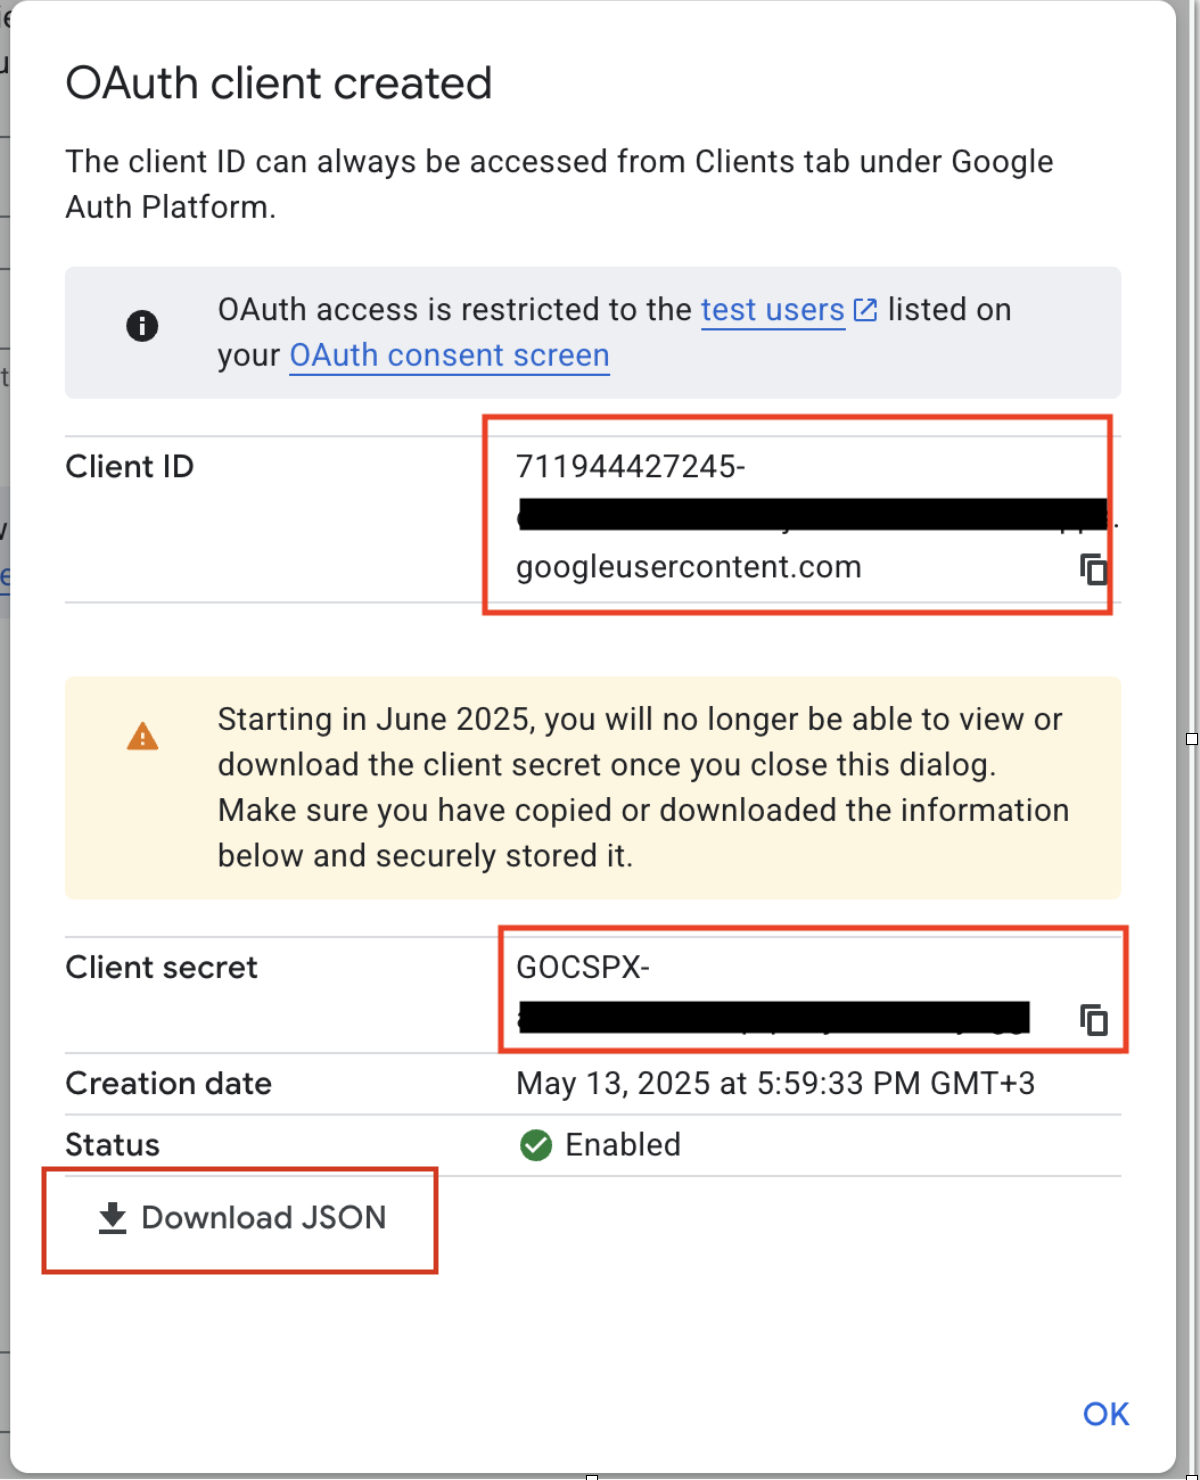
 After creation, a modal will appear showing your Client ID and Client Secret.
Make sure to store these securely, as the Client Secret will not be visible again once the modal is closed.
You also have the option to download a JSON file containing this information for safekeeping.
After creation, a modal will appear showing your Client ID and Client Secret.
Make sure to store these securely, as the Client Secret will not be visible again once the modal is closed.
You also have the option to download a JSON file containing this information for safekeeping.
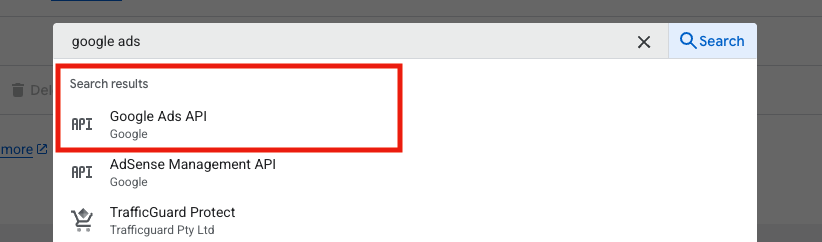
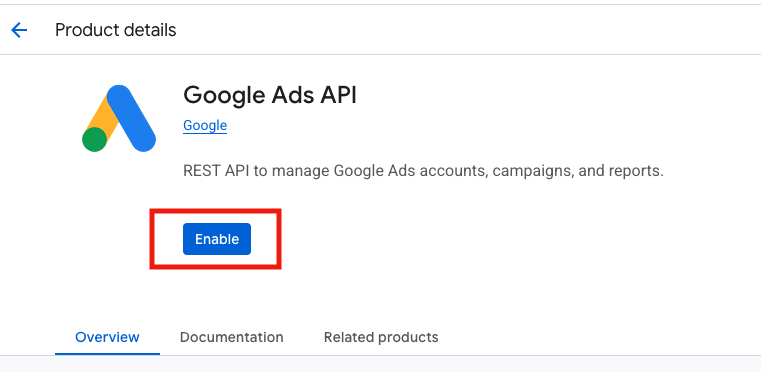
 In the top search bar, type "Google Ads API", then click on the result titled "Google Ads API" to open it.
 Click Enable
 Return to the Tray.io app and complete the setup:
 - Paste the App Secret and App Key using the credentials you saved or downloaded when creating the OAuth client in Google Cloud.
- Then click "Create Auth App" to finish the authentication setup. Now you need to obtain a Developer Token from your Google Ads account. After configuring your Google Ads account, follow these steps:
- Navigate to the Admin section in the left-hand menu.
- Then click on "API Centre".
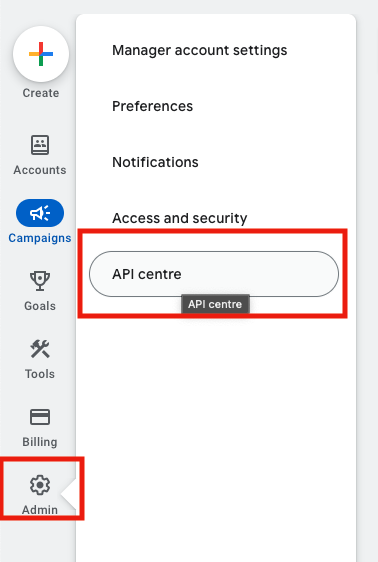 In the API Centre, you will find your Developer Token under the "API Access" section of the page.
If this is your first time accessing it, the token will be available in test mode by default — this means you can use it right away for development and testing purposes.
However, to use the token in production, you may need to submit a request to Google for approval. This can be done directly from the same section by following the instructions provided.
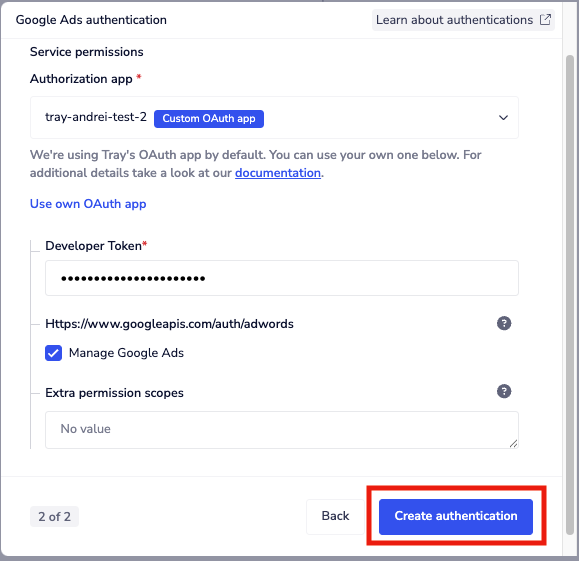
Return to the Tray.io app and complete the setup by adding the Developer Token and click **Create authentication. **You will be redirected to a Google consent screen.
In the API Centre, you will find your Developer Token under the "API Access" section of the page.
If this is your first time accessing it, the token will be available in test mode by default — this means you can use it right away for development and testing purposes.
However, to use the token in production, you may need to submit a request to Google for approval. This can be done directly from the same section by following the instructions provided.
Return to the Tray.io app and complete the setup by adding the Developer Token and click **Create authentication. **You will be redirected to a Google consent screen.
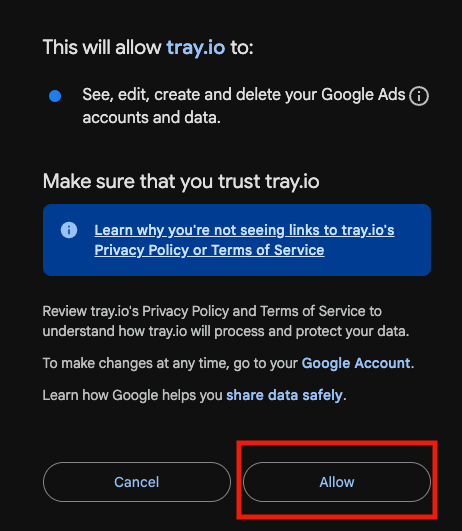
 There, you will be asked to review the requested permissions and click "Allow" to authorise the connection.
 Once you approve, the authentication should be complete. Please run the simplest operation available to test and make sure you can retrieve data as expected.