Looking to dive straight into how you can export data from Intercom? Check out our section on tools and best practices when working with the Intercom API. Otherwise, refer to the table of contents above to jump to a specific section or read on to review the fundamentals.
In this guide, we’ll teach you the basics of working with Intercom’s application programming interface, or API, to freely flow data between Intercom and any other tool. We’ll cover key data types, common use cases, and show you how to export Intercom data via API so that you can take full control of your chat data and deliver the best customer experience possible (all while cutting out manual work from your internal processes). Already familiar with common Intercom data types? Skip directly to the Intercom API guide section.
Intercom API 101
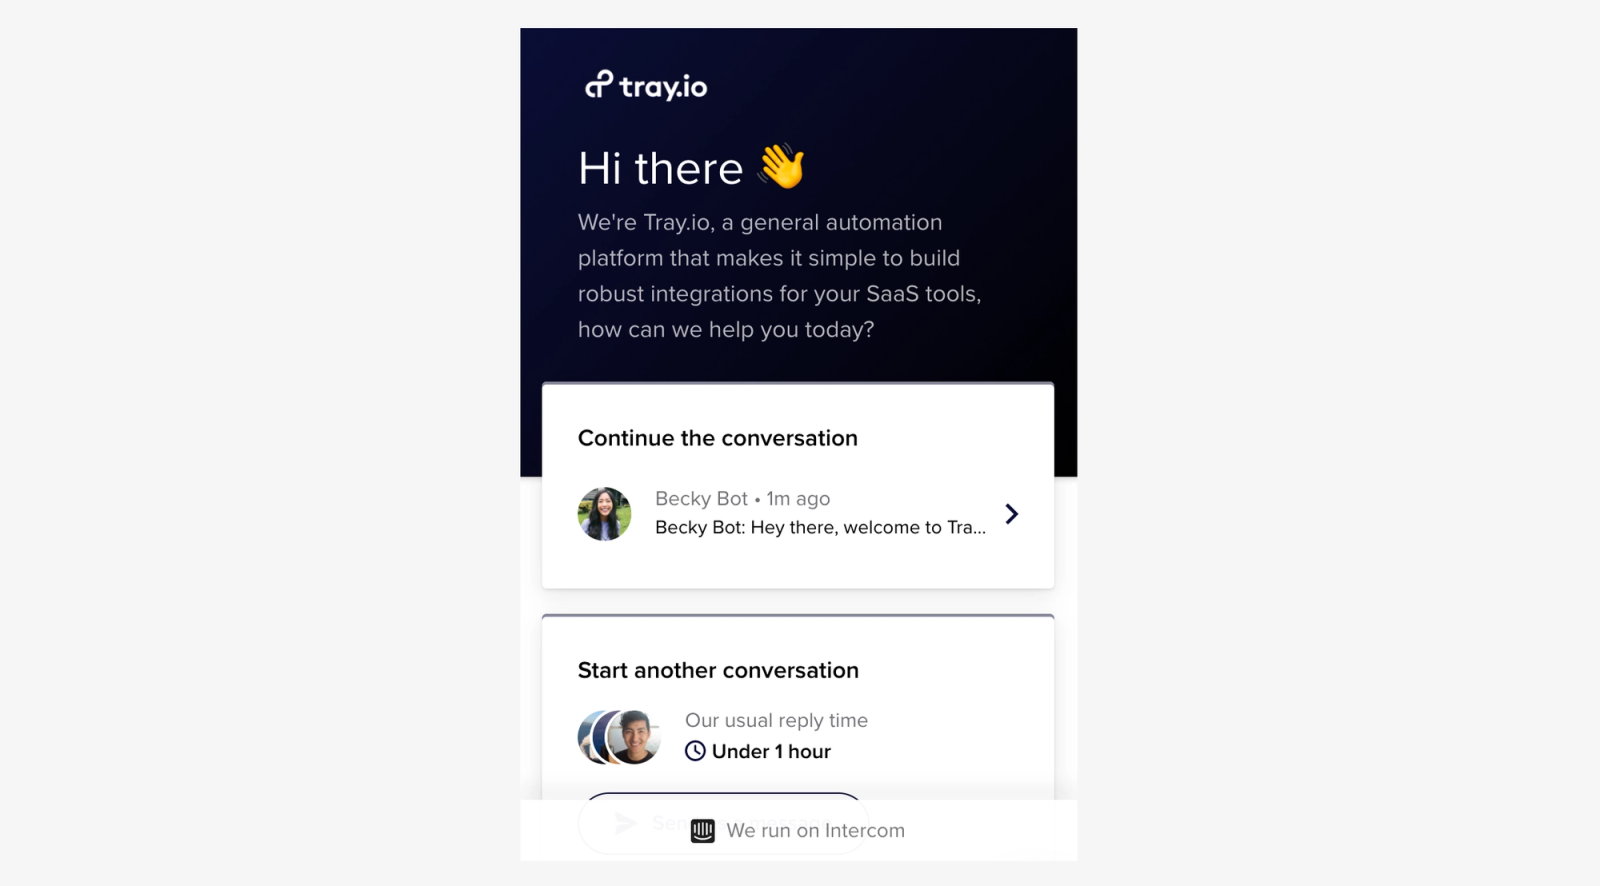
Intercom prompt on our marketing website.
If you’re using live chat tools such as Intercom to answer questions on your website or in your product, you’re probably aware that consumers are increasingly turning to chat to engage with companies. In fact, customers aged 18-49 list chat as their number one preferred method of communication over phone, email, or any other channel.
Which is exactly why the data inside your chat tools is so valuable. Context-rich conversations that signal buyer intent or customer pain points can easily get lost in the shuffle, preventing you from uncovering critical insights that drive revenue and boost conversions. Meanwhile, process gaps and disconnects between your chat strategy and other marketing technology can lead to a poor customer experience that adversely affects retention rates.
Luckily, there’s a way you can leverage Intercom and the data stored inside it to build a live chat experience tightly aligned with your other sales and marketing channels. By using APIs, you can stand up flexible integrations that manage and transform valuable chat data to minimize the time you spend manually moving data between tools, whether you use the tool for support, sales, or to power chatbots for both. In fact, with a better understanding of how to flow and export Intercom data, you can make the most of the Intercom chatbot API. Better still, you can flow Intercom data across your entire go-to-market stack to fuel processes that empower you to retain more customers, follow up with leads faster, massively boost conversion rates, and unlock actionable insights that drive revenue for your business.
But before we get ahead of ourselves, let's review the essential Intercom schema (or data types) you’ll need to know before you start importing or exporting data using Intercom’s API.
Key Intercom schema
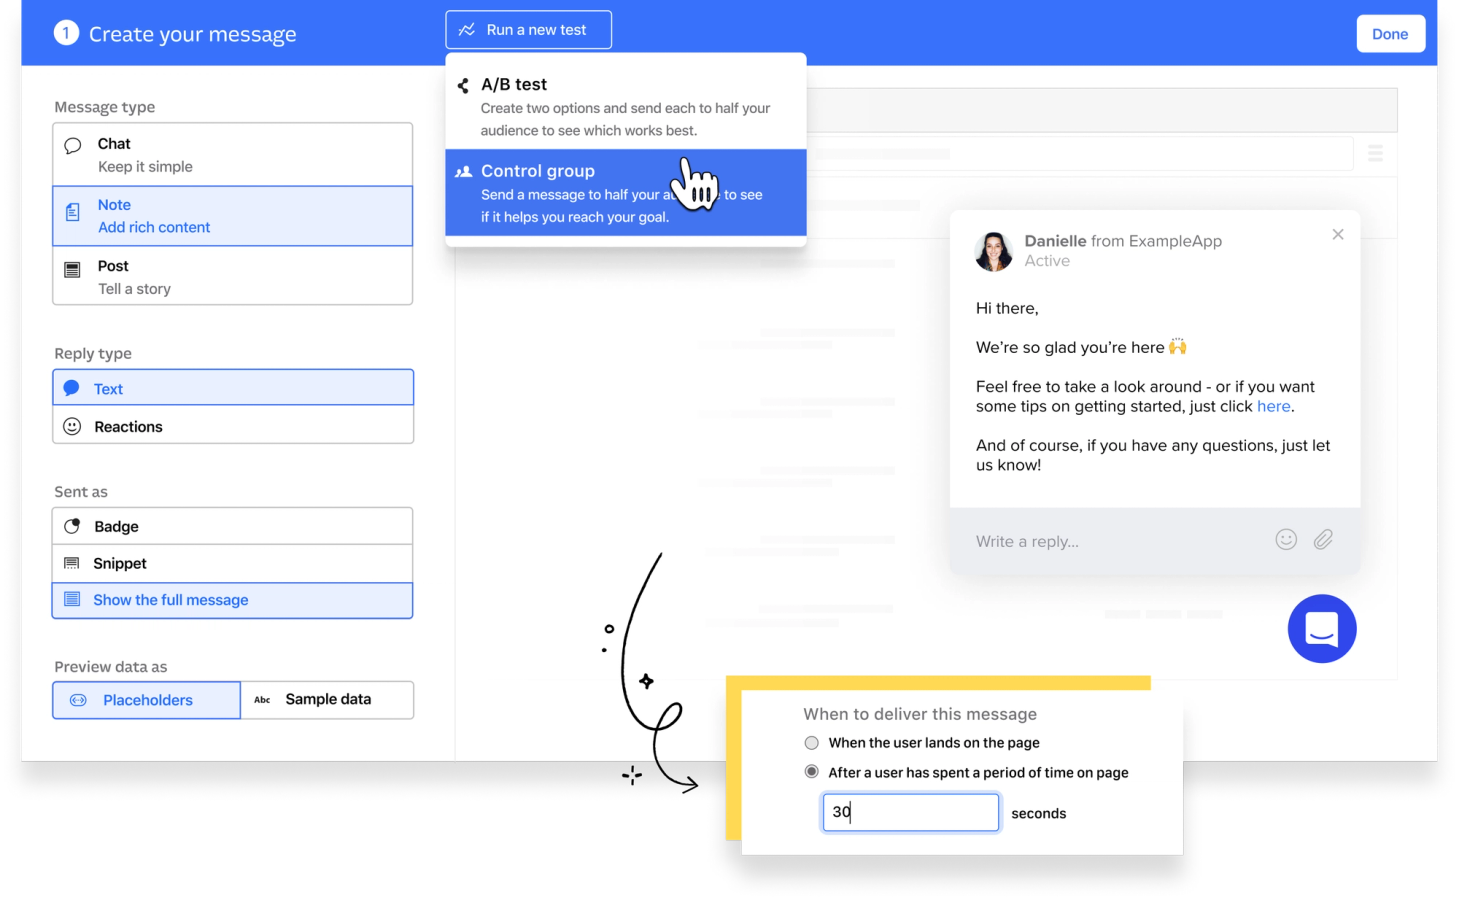
Intercom’s interface. Source: Intercom
Most businesses use Intercom to answer questions from visitors on their marketing website, chat directly with customers inside their product, engage leads and customers through email and pop-ups, or some combination thereof. Regardless of your use case, you’ll likely be working with the same standard set of Intercom schema.
Visitors, leads, and users
First and foremost, you’ll need to understand the difference between contact types in Intercom (visitors, leads, and users).
Visitors are anonymous individuals that are browsing your website but have yet to engage with your business through chat or other offers. After a visitor clicks on a message, starts a conversation, or otherwise engages with your content, they become a lead. At that point, Intercom creates a record of that lead’s message history and keeps it up-to-date as you continue to answer questions and build a relationship with them.
Note: Just because a visitor becomes a lead doesn’t mean that you can engage them with content and other offers right away—often, you’ll need to invest real time and resources into answering their questions without ever receiving a name or an email address. Connecting Intercom with your other lead management tools can be critical in identifying anonymous leads from chat.
After you’ve successfully captured a lead’s email and they’ve clicked on an auto-generated tracking link routed to your website, that lead becomes a verified lead. Now, you can track a lead’s behavior on your website and personalize the messages they see.
So where do users come in? After a lead signs up for an account for your product or logs into their existing account, Intercom converts them into a user. You’ll still be able to review the lead’s history, plus any new conversations you have with them on your site or in-product.
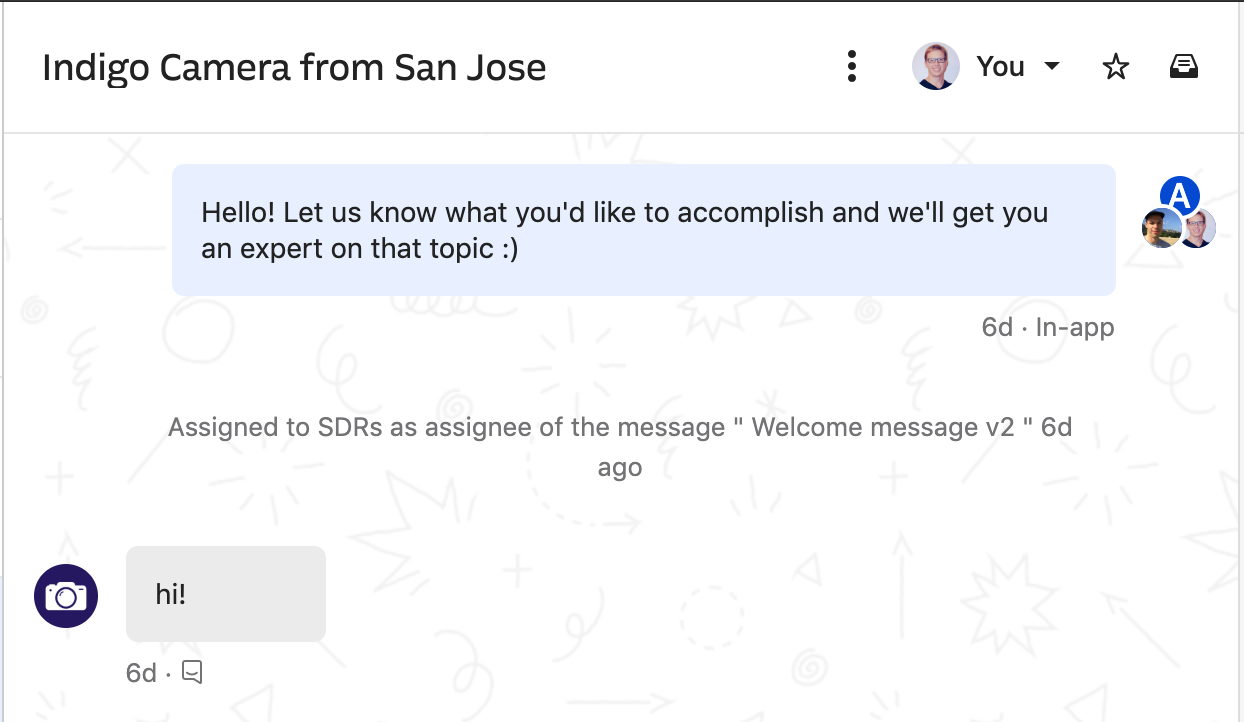
An anonymous lead in Intercom.
Attributes and events
As you start to collect information on your contacts, you might record that information as an attribute. Attributes are fields that house specific details about a lead or a user. Standard attributes include name, email address, phone number, and number of web sessions. You can also create custom attributes, which are unique to the needs of your business. Examples of custom attributes include subscription tier, renewal date, NPS score, Google click identifier, UTMs, number of employees, job title, Salesforce ID, and lead source.
Attributes house a single value that reflects the current state of your contact. But what about data that changes over time, such as the number of times a customer uses your product? That’s where events come in. Events keep track of actions from your contacts and record those changes as they occur.
Note: For a full list of standard data attributes, check out Intercom’s documentation.
Conversations and messages
Messages are the primary way your company communicates with visitors, leads, and users in Intercom. After an individual responds to a message from your team or your team sends a message directly to a contact, that message is stored in a single thread called a conversation.
Messages and conversations with leads are usually rich with context about their intent, interest, and fit as a potential customer. And conversations with a user can be particularly valuable to track issues and account status. By keeping track of your interactions in Intercom, you can engage contacts with the service and resources they need to convert into loyal, long-term accounts.
Admins and teams
Admins are the internal users that have access to your organization’s workspace in Intercom, while teams are groups of admins that are defined by how you’ve configured your Intercom instance.
If you’re working in large or fast-growing organizations, managing admins and teams using the Intercom API can save you significant time and manual effort as you provision and de-provision seats across multiple teams with varying permissions.
Note: For more information on how to build automated user provisioning workflows, check out our guide.
Notes, segments, tags, companies, and other data types
Beyond attributes, events, and messages, Intercom offers a few specialized data types used by admins to track and segment contacts. Other data types include:
- Notes - Notes are internal comments or annotations that help your team quickly reference key information about a contact.
- Segments - Segments are groups of contacts. For example, you might create a segment to track leads that haven’t visited your website in more than 60 days.
- Tags - Tags are labels for your contacts that help you sort them by a common identifier. For example, you might tag ‘power users’ of your product or highly engaged prospects. Tags are similar to segments but are assigned individually by your team.
- Companies - Companies let you sort contacts into groups based on their current company.
You can also use Intercom’s API to manage your help center, articles, error data, and more. For more information on other data types, check out Intercom’s API documentation.

Common Intercom schema. Source: Intercom.
The Intercom API: Under the hood
Now that we’ve reviewed key data types in Intercom, let’s look at how you can use Intercom’s API to access and manage your data. Intercom uses a REST API, which is one of the two most popular protocols for API design. To access and update data in Intercom, we must use an endpoint, a communication channel for exchanging data between two sources. Luckily, Intercom’s API endpoints follow the same schema we outlined above:
- Contacts - Intercom’s Contacts API endpoint lets you get, search, create, update, and delete contact records.
- Visitors - Intercom’s Visitors API endpoint lets you view, update, and convert visitors into leads.
- Companies - Intercom’s Companies API endpoint lets you list, create, and update company data.
- Data Attributes - Intercom’s Data Attributes API endpoint lets you access a list of attributes for your customers and companies.
- Tags - Intercom’s Tags API endpoint lets you assign and manage tags for your users and admins.
- Segments - Intercom’s Segments API endpoint lets you view segments in your workspace.
- Notes - Intercom’s Notes API endpoint lets you create and view notes associated with a given user.
- Events - Intercom’s Events API endpoint lets you update user activity.
- Counts - Intercom’s Counts API endpoint lets you get the total number of users, companies, and admins by segment or tag.
- Conversations - Intercom’s Conversations API endpoint lets you access conversations, reply to conversations, and send new messages.
- Messages - Intercom’s Messages API endpoint lets you view and send messages.
- Admins - Intercom’s Admins API endpoint lets you access your workspace’s admins.
- Teams - Intercom’s Teams API endpoint lets you access your workspace’s teams.
- Articles - Intercom’s Articles API endpoint lets you get, create, update, and delete articles.
- Help Center - Intercom’s Help Center API endpoint lets you get, create, update, and delete collections and sections in your help center.
In addition to endpoints, Intercom built its API with common approaches to the following core functions:
- Data - Intercom encodes data in JSON, a popular language for accessing and managing data. Specifically, the API encodes data in UTF-8.
- Errors - Upon a failed request, Intercom’s API returns an error list. To review a list of specific error codes, check out Intercom’s documentation.
- Rate limiting - Rate limits prevent a surge of requests from overwhelming the API. Private and public apps have a limit of 1,000 API calls per minute, per app.
- HTTP - After you submit a request, Intercom’s API will return an HTTP response to let you know the outcome. For a list of response codes, check out Intercom’s documentation.
Note: Before kicking off any API-based project, we recommend checking out Intercom’s API documentation.
Object model and identifiers
When working with objects in Intercom’s API, you’ll likely use the following fields: Type, which indicates what kind of object we’re working with; ID, which gives the object a unique identifier; and Created_at, which provides a UTC timestamp for when we created the record. You’ll also rely on any number of custom fields that are unique to your Intercom instance, including metadata and custom_attributes, which help you store custom information inside an object.
Object IDs are critical to ensure you’re working with the right objects and minimize the risk of duplicates. Object IDs are strings that cannot be larger than 128 characters. While no two objects of one type can have the same ID, objects of different types, such as users and companies, can have the same IDs.
Compatibility
Naturally, different intercom objects will have different fields. For example, some of your contacts will have a full name, email, and job title, while others might only have an email. As a result, Intercom’s API uses a must-ignore processing model, meaning if the API recognizes an incomplete or invalid field, it will ignore the data it can’t process. Optional fields can remain empty, but the request will likely fail if you leave a required field empty.
Pagination
When processing high volumes of data across multiple API requests, Intercom will paginate your data, separating responses into numbered pages for easier viewing. Some objects, such as contracts, follow a cursor-based pagination model, where a request returns an indicator for the location of a specific object. When searching for contacts, you’ll need to send a POST request, which varies slightly from other requests. For more information on searching for contacts, check out Intercom’s documentation.
Common use cases when working with Intercom’s API
Intercom users in sales, customer support, sales operations, marketing operations, and more rely on live chat and countless other tools to convert leads and engage customers. And thanks to consumers’ increasing preference towards chat, plus the ever-rising number of other SaaS applications on the market (the average organization uses over 1,900 unique cloud services), revenue teams are unlocking innovative and high-impact use cases by deeply connecting Intercom with their go-to tools.
Here are a few of the many ways you can use Intercom’s API to resolve common go-to-market use cases:
Syncing lead and customer data
Most revenue teams know that personalization is critical in delivering a standout customer experience online. While research shows that personalized experiences can boost purchases, repurchases, and order sizes by 16%, only 12% of companies are satisfied with their current efforts.
Often, revenue teams are simply unable to tap into the customer data available in one system and sync it with the apps they use to execute sales and marketing campaigns every day. By connecting Intercom with your CRM, marketing automation platform, customer data platform, customer support tool, data warehouse, or any other data source in your tech stack, you can easily enrich Intercom attributes with key insights that will help your team deliver faster customer service and convert more leads.
Building chat bots with custom logic
Intercom’s chatbots are already a great way to provide fast and high-quality support at scale, but they are constrained by the data and resources available to them inside Intercom. You can take your chatbots to the next level by combining custom logic with powerful customer insights to deliver high-caliber responses even when your team doesn’t have the capacity to chat with customers live.
By augmenting Intercom’s chatbots via API, you can bake natural language processing (NLP) into your chatbots to monitor customer intent and deliver highly personalized support; automatically flag and remove spam messages; curb churn with timely messages to at-risk accounts; and so much more.
Alerts and reminders
In any busy sales organization, it’s easy for chat messages from customers to get lost in the shuffle. And growing, resource-constrained teams can only allocate so many resources to responding to messages coming in at all hours of the day. But slow lead follow-up speed can massively tank your conversion rates: research suggests that responding even a minute later to an inbound lead can significantly reduce conversion rates. Following up within the first minute, however, can boost conversion rates by 391%.
Alerts can be a great way to remind your sales and support staff when they should be on-call to respond to inbound messages (while ensuring you don’t duplicate efforts). Connect Intercom with internal chat tools (such as Slack and Microsoft Teams) to create a custom, round-robin workflow that assigns reps to specific time slots and reminds them when it's their turn.
Analytics
Your live chat strategy is only as good as the data that informs it. But traditional extract, transform, and load jobs often require extensive developer support and can drain resources from your team.
By building out an API-level automated workflow between Intercom and your analytics stack, you can pipe valuable customer questions and conversations into your other tools and campaigns to fuel personalization at scale. Plus, you can easily segment and visualize your chat data to inform a truly standout chat experience for your customers.
How to update, export, and manage Intercom data
So how can you update, export, and manage Intercom data at scale? Intercom offers native features to update records manually, but this approach can become extremely resource-intensive when dealing with large datasets and recurring data jobs. Alternatively, you can opt for a pre-built integration on Intercom’s App Store, but these connections are generally built to execute a handful of specific operations and use cases.
In this section, we’ll review both data management options, highlight the pros and cons of each, and share best practices for importing and exporting Intercom data with ease.
How to manually update Intercom data
Whether you’re importing a fresh lead list, pulling historical chat data to train a machine-learning algorithm, or flowing customer data anywhere across your tech stack, you can use Intercom’s native functionality for quick and easy data jobs.
To import data, use Intercom’s CSV import tool, but keep in mind you’ll need to review, format, and enrich that data prior to upload, or else you’ll run into errors and unknown fields. And to manually export Intercom data, simply view your contact list in the platform, filter based on whatever parameters you need, and export as a CSV.
Pros:
- Great for simple data projects and one-time list uploads
- Functionality baked into the platform
- Intuitive and user friendly
Cons:
- Imports and exports require manual reformatting and enrichment to avoid errors
- Data from other sources likely doesn’t directly map to Intercom schema
- Recurring, large-scale data jobs can become time-consuming and error-prone
For more information on manually updating user data in Intercom, check out this resource.
Using Intercom’s App Store
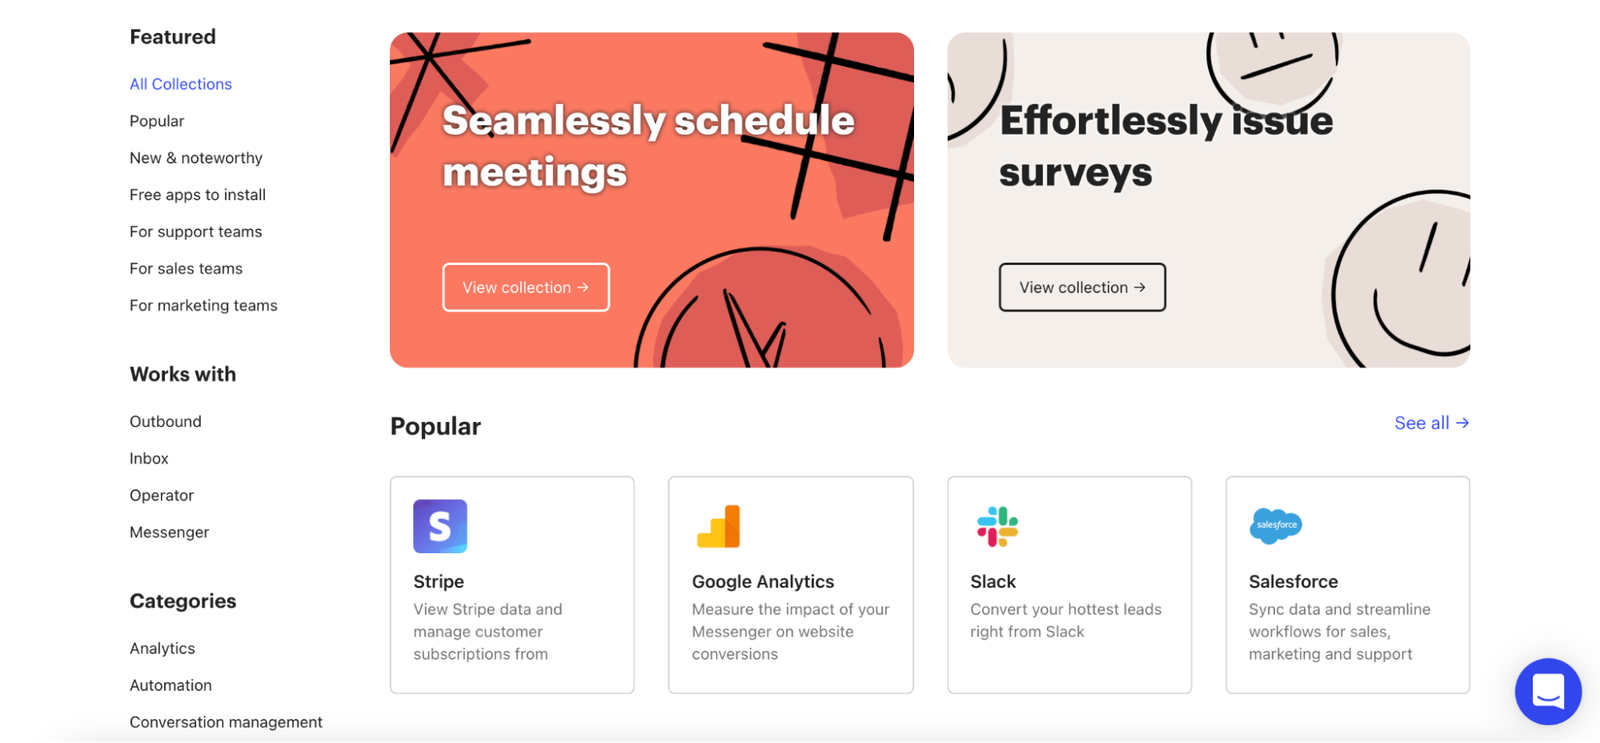
Intercom’s App Store
The app itself offers an extensive library of pre-built Intercom API integrations to popular services designed to help users automate some of the manual work of moving data across their tech stack. App Store integrations are easy to set up and often support a handful of core operations to satisfy basic use cases.
If you have the resources and technical experience, you can also build your own custom Intercom apps to access operations and logic tailor-made to your needs. Check out more information on Intercom’s Developer Hub on how to get started.
Pros:
- Easy connections to most popular services
- Rapidly stand up simple syncs, alerts, and quality-of-life automations
- Supported by Intercom through API updates and patches
Cons:
- Most applications offer limited operations designed to satisfy one use case
- Doesn’t support connectivity to niche applications and data sources
- Building custom apps require extensive developer resources
Alternative: An AI-powered iPaaS
While Intercom’s manual data tools and app store are great for quick fixes and basic use cases, many companies need greater flexibility to meet the unique requirements of their teams, technologies, and processes. And custom-built apps and integrations can remain out of reach for resource-constrained teams without the technical resources to implement them.
To find the right balance between power and ease of use, teams at some of the world’s fastest-growing firms are turning to a modern iPaaS like Tray. Tray is a low-code platform that empowers anyone, regardless of their technical experience, to stand up custom integrations in minutes thanks to a visual, drag-and-drop interface. Tray users can rapidly combine pre-built connectors, logic-based operators, and data helpers to build out powerful automated workflows that you can customize to satisfy any use case.
Tray lets any team unlock the full potential of their Intercom data and design processes that increase response times, boost conversions, improve retention, and ensure an exceptional customer experience. Whether you need to sync customer data, build custom chat bots, or send alerts to any stakeholder, you can use Tray to level up your processes.
Using Tray to take control of your Intercom data
One example of how you can use Tray to easily export Intercom data is by automatically piping your messages into your data warehouse tools (such as Snowflake, Redshift, BigQuery, or Databricks) to easily analyze and optimize your chat strategy.
Analyzing your chat data at scale can help you uncover trends and insights that increase response rates, drive conversions, and boost customer satisfaction. But traditional extract, transform, and load (ETL) jobs often require extensive technical resources. By using general automation, you can easily string together pre-built connectors and custom logic to build flexible processes that regularly pull Intercom data into your preferred data warehouse tool for deeper analysis. Let’s see what that looks like:
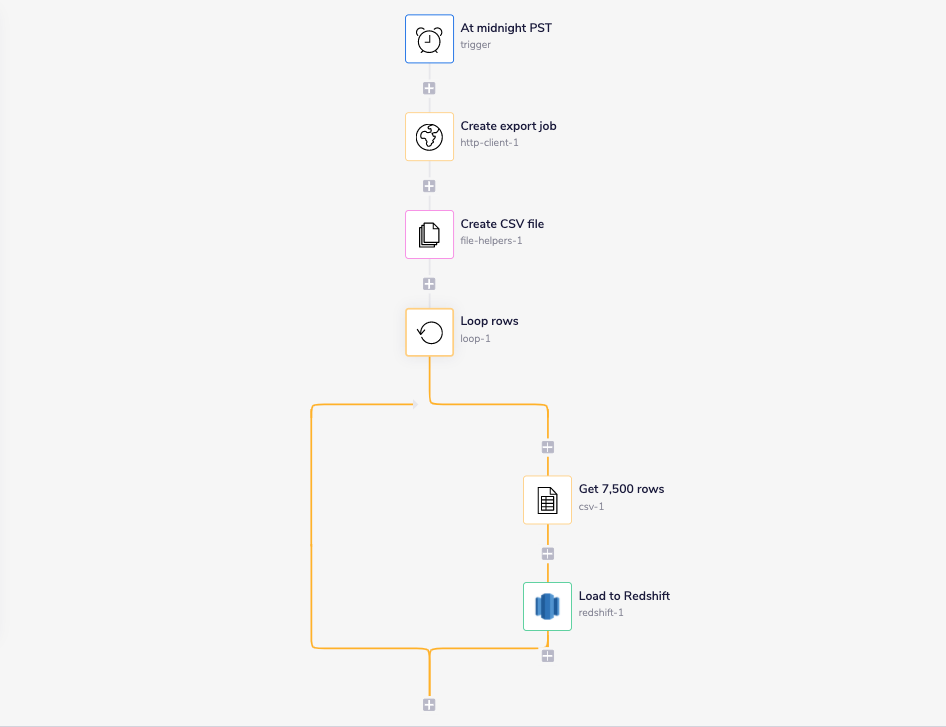
A simple ETL job in Tray.
Our workflow kicks off with a scheduled trigger, which lets it run every night at midnight. Next, we use a universal HTTP connector to kick start a new export job in Intercom. Then, we create a CSV file and populate it with the data from our export job. After we’ve created our CSV, we can loop through each row of the sheet and load that data into our data warehouse using a Redshift connector.
Keep in mind you can add custom logic to make this workflow your own, whether you need to execute ETL jobs with a certain frequency, include additional logic to reformat your data, or satisfy any other unique requirements.
More Intercom integration resources
Hopefully, you’ve found this guide helpful in your pursuit of managing data using Intercom’s API. You’ve seen just a few of the many ways you can connect to Intercom to power high-impact use cases. For example, you can Integrate NPS into your CRM, bulk enrich Intercom leads, and even segment customer tickets by account value.
